Sunday, December 27, 2015

The 12 Days of Ellee The Sixth Day More Ruffled Dresses


The 12 Days of Ellee

On the Sixth Day of Ellee 
My mother made for me
More Ruffled Dresses


We started off this day with this ruffly shirt that is in Ellee's favorite color.  Surprisingly, when she looked at it, she decided that she didn't like it because it was not ruffly enough.  We also had this strapless sundress that wasn't going to work without some additions (you know how modest I am). 


To start off, I had her try the dress over the shirt to see where it would fit right.  I got an idea of where I needed to cut the top.  Sadly, the dress had a small hole towards the top, so I had to adjust the top to hide the hole.  She took them off and I laid it out on the floor where I would cut it.  Then I began to cut.  The problem was that the ruffles were not sewn straight across but more at an angle.  So, when I cut it was difficult to get it even.  But, we did the best we could:)
Laying out the dress on the shirt

Cutting the bottom ruffles off the shirt

The "cut" shirt top.  A little uneven, but we worked that out later.
Next, I matched up the centers and sides of the shirt with the dress.   Then I pinned the dress over the shirt, being careful not to catch the other side (the back) of the shirt.  The dress had elastic in it, so I had to "stretch" the dress to match the top.  It worked out for me that the top and dress were the same size around.
Pinning the dress to the shirt
Next, I took the bottom half of the shirt and separated the front and back then I cut the front into 3 even pieces, then matched up the ends and sewed them side to side.  I then pinned the bottom ruffle to the bottom of the dress.  When I had the bottom ruffle pinned on, I trimmed the excess ruffle, then proceeded to pin the ruffle flat all the way around.  Sorry, forgot to take pictures of that.
The cut front ruffles.

Cutting the front shirt piece from the back.
The cut ruffles


Next, I took the bottom half of the shirt and separated the front and back then I cut the front into 3 even pieces, then matched up the ends and sewed them side to side.  I then pinned the bottom ruffle to the bottom of the dress.  When I had the bottom ruffle pinned on, I trimmed the excess ruffle, then proceeded to pin the ruffle flat all the way around.  Sorry, forgot to take pictures of that.
Lining up the ruffle end to end


Topstitching on the bottom of the skirt


Topstitching with a longer stitch
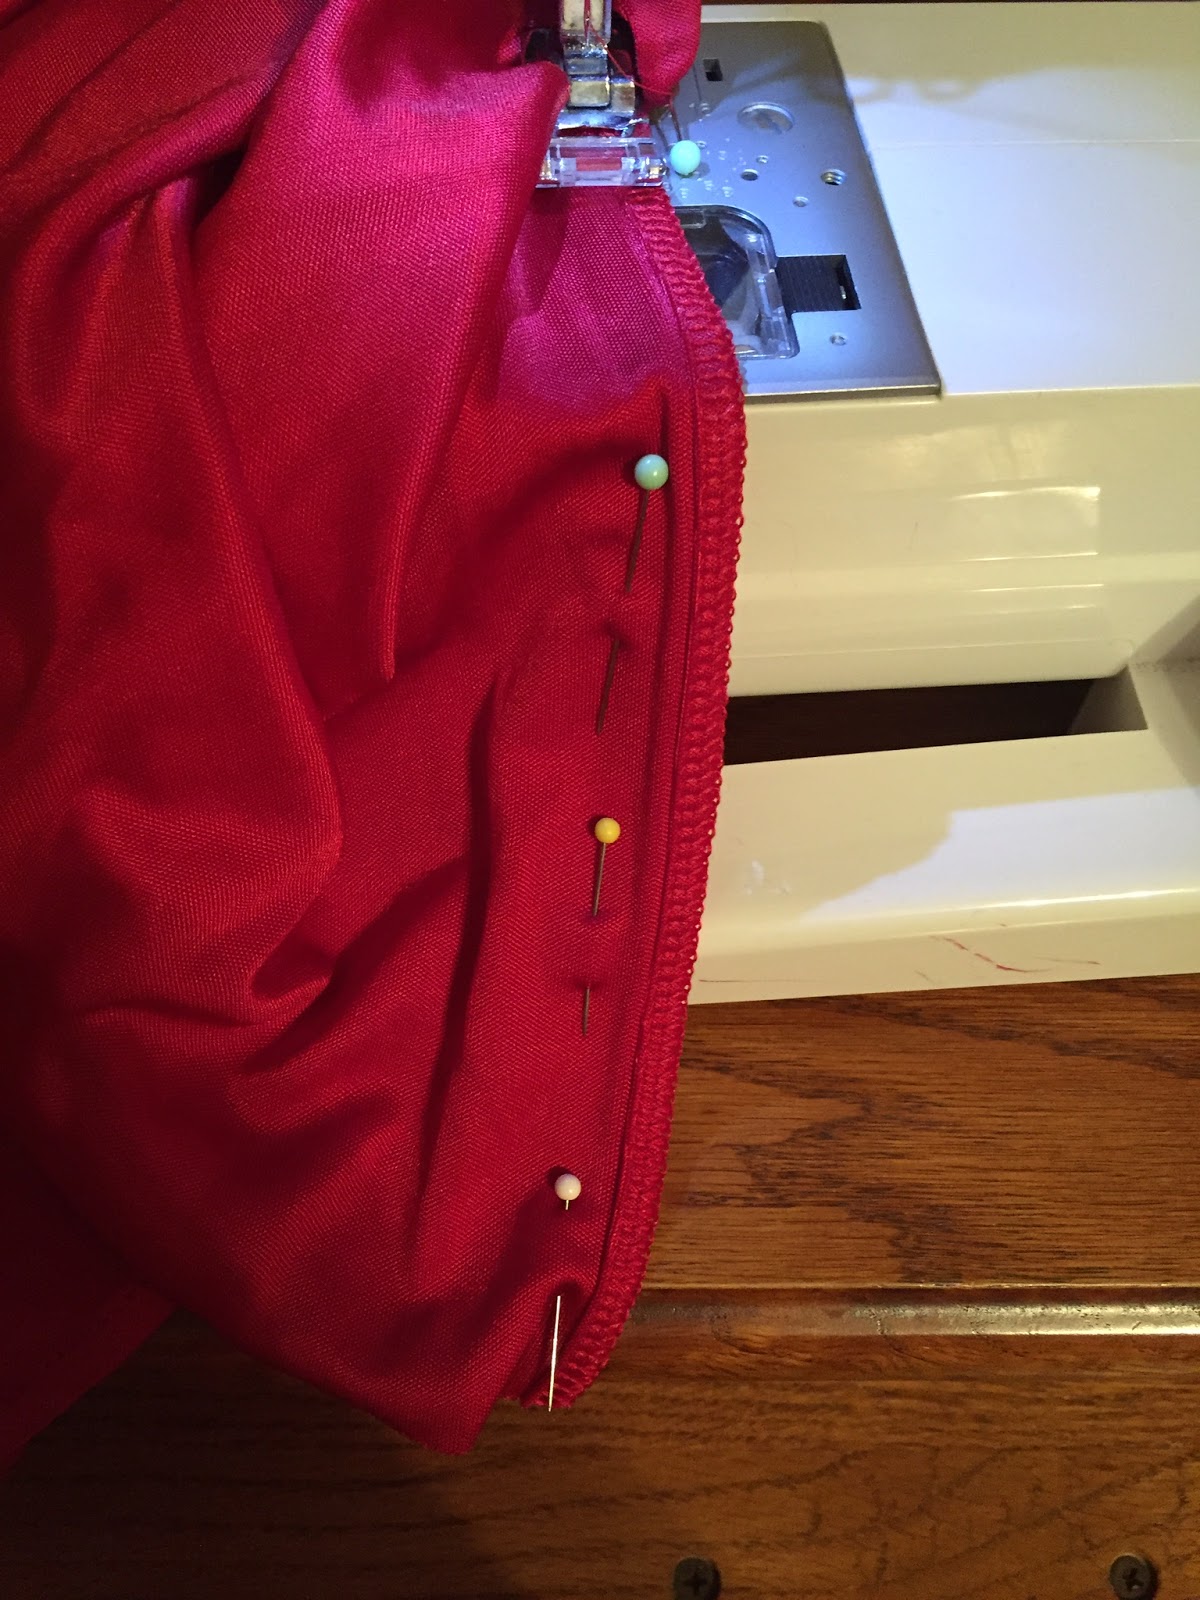
Lastly, I sewed everything into place.  I did not sew right side to right side, as you typically would an outfit.  Instead of just sewed over the top of the shirt, topstitching the same seam that was already sewn on the dress.  I stretched the fabric out flat and used a longer stitch to sew the back. (see pictures)


When I sewed the front, I used a small zig zag stitch that I centered between the blue shirt and red dress.  I stretched the fabric until it was flat and evened up, then sewed my zig zag.


Stretching the fabric flat as I sewed a zig zag stitch.


Friday, December 25, 2015

The 12 Days of Ellee The Fifth Day The Red Christmas Dress


The 12 Days of Ellee

On the Fifth Day of Ellee 
My mother made for me
A Red Dress with Short Sleeves,


Ellee really loved this dress and wanted to wear it special for Christmas.  The only thing she didn't like was the long sleeves.  So, it was time to get to work on cutting those sleeves.  I didn't want to just have a fitted sleeve.  I wanted to use the excess fabric to make the sleeves full.  Time to cut, cut, cut.

First, I folded the dress in half and matched up the sleeves.  Once they were matched up, I cut straight across where I would want the sleeve to be.  

With the leftover sleeve fabric, I matched up the leftover piece with the longest length of the cut sleeve. (Shown in picture)


Folded in half to cut sleeves
matching up the cut sleeve with leftover
sleeve fabric.

two pieces cut the same length as the sleeve

Next, I laid the sleeve out flat, matching the inner seam and creating a center seam.  I cut on the center seam of both sides.
I left about 1/2 inch uncut along the top of the sleeve. (Shown in picture)

cut the outer sleeve all the way to 1/2 inch
before the top of sleeve
Laid out flat matching the inner seam

Next, I cut the sleeve insert pieces that will fit inside the
existing sleeve.


cutting the sleeve inserts lengthwise
Next, I cut the sleeve inserts in half lengthwise.  I laid them out flat and took a picture so you get the idea.

Laid out flat
       Next, I matched up one sleeve insert side to the cut opening in the existing sleeve.  Pin that baby down and pin on both sides, both sleeves.                                                                                        
Sew the sides as you have pinned them.  Stop short of sewing all the way to the top.  This leaves room for the sleeve to be "fitted" into the spot.  Next is the tricky step.  Take the width of the inserted sleeve and make an accordion like "fan", evenly giving half on one side and half on the other.  Pin it flat with all the folds laying evenly flat.  Sew straight across (as pictured below).

Sewing the sides on the sleeve inserts.
My attempt at folding accordion style
and sewing straight across.
After sewing, you should flip it outside in and it should look like this picture below.  I used my serger to put a straight seam in the hemmed edge, then sewed a straight stitch to finish up the sleeve.

Finished hem on the sleeve.

And there you have it.  An inset sleeve for a beautiful girl.


Tuesday, December 15, 2015

The 12 Days of Ellee: The Fourth Day The Sassy Little Mini Dress


The 12 Days of Ellee

On the Fourth Day of Ellee 
My mother made for me
A Sassy Little Mini Dress

 We started out with a shirt that was too small.  Ellee is very tall and long waisted, so we have this problem often.  So, we added another shirt to the mix that she picked out a few weeks ago.


 I laid the mint shirt out as flat as possible, making sure to line everything up.  I then used a ruler to cut straight across right under the armpit line.  I cut across and set aside my top half for another day.


After cutting, I placed the mint piece under the shirt to see if it
would fit.  What luck!  It was a perfect fit!


 With the skirt in the position I was going to sew, I carefully pinned along the edge of the green shirt, trying not to pin the back and front of the skirt together.  Once pinned, I carefully flipped it over and pinned the back the same way.  I wanted to make sure my sides were even (the same length) so I used my measuring tape and measured on the side seams to make sure they were the same on both sides.


 Next, I carefully made sure the pins were not holding the opposite side, carefully slipped my machine between fabrics, and started to sew.  I lengthened the length of my stitches because knits have a tendency to stretch if you're not careful. I sewed on top of the existing stitch using thread that matched the top piece.  Of course, taking pins out as I go.


I trimmed the excess fabric underneath.  I didn't have to do any hems or serging, because both tops had finished edges and knit will not unravel.  Voila!


Monday, December 14, 2015

The Twelve Days of Ellee Third Day: Gaping Green Shirt


The 12 Days of Ellee


On the Third Day of Christmas
my mother made for me...
One Gaping Green Shirt


Poor, skinny, little Ellee!  Everything we find for her is too big!  She just loved this green shirt she found, but, once again, she could almost fit two of her in it.  So, it was time for momma to get to work!
 The first thing we did was flip the shirt inside out and pinned it evenly on both sides where we wanted to take it in.  We also pinned the sleeves, following along where the existing seam was.  This shirt was a little tricky because the shoulder seam was not a straight seam on the top of the shoulder, like usual.  It went at an angle in the back.  It caused me issues later, but I'll get to that.  At this point, I pinned anyway.
Once she removed the shirt, I turned my pins sideways, forming my seam line.  Then, I sewed straight seams on both sides, removing pins as I sewed.  Don't sew over the pins.  It never works out in your favor:)

This is where I turned the pins and sewed a straight seam.  Sort of

This is where I did a straight seam on the sleeve.
This is where my dilemma started.  If I stayed with the shoulder seam,
there would have been no ruffled sleeve left.
This is where my dilemma started.  If I stayed with the shoulder seam,
there would have been no ruffled sleeve left.

When I got to the sleeves, I noticed my dilemma.  The sleeve didn't lay flat and it I sewed across following the existing seam, there was be no more sleeve left to create the ruffle effect that Ellee liked.  Long story short, I just laid the sleeve flat where the edges came together and, instead of following the existing seam, I kept the same straight line, only taking out a few inches from the sleeve.


With that problem solved, I was able to finish up the shirt by clipping the excess fabric from the sleeves and the sides.  My fabric was knit, so it will not fray, so I didn't put any finishing stitches on the seams.  The ruffled sleeve also had been finished off with a serger and, since I met my seams when sewing, there was no need to serge the edges again.