Showing posts with label refashion dresses. Show all posts

Friday, March 4, 2016

Refashion Friday: Little Black Dress

Little Black Dress

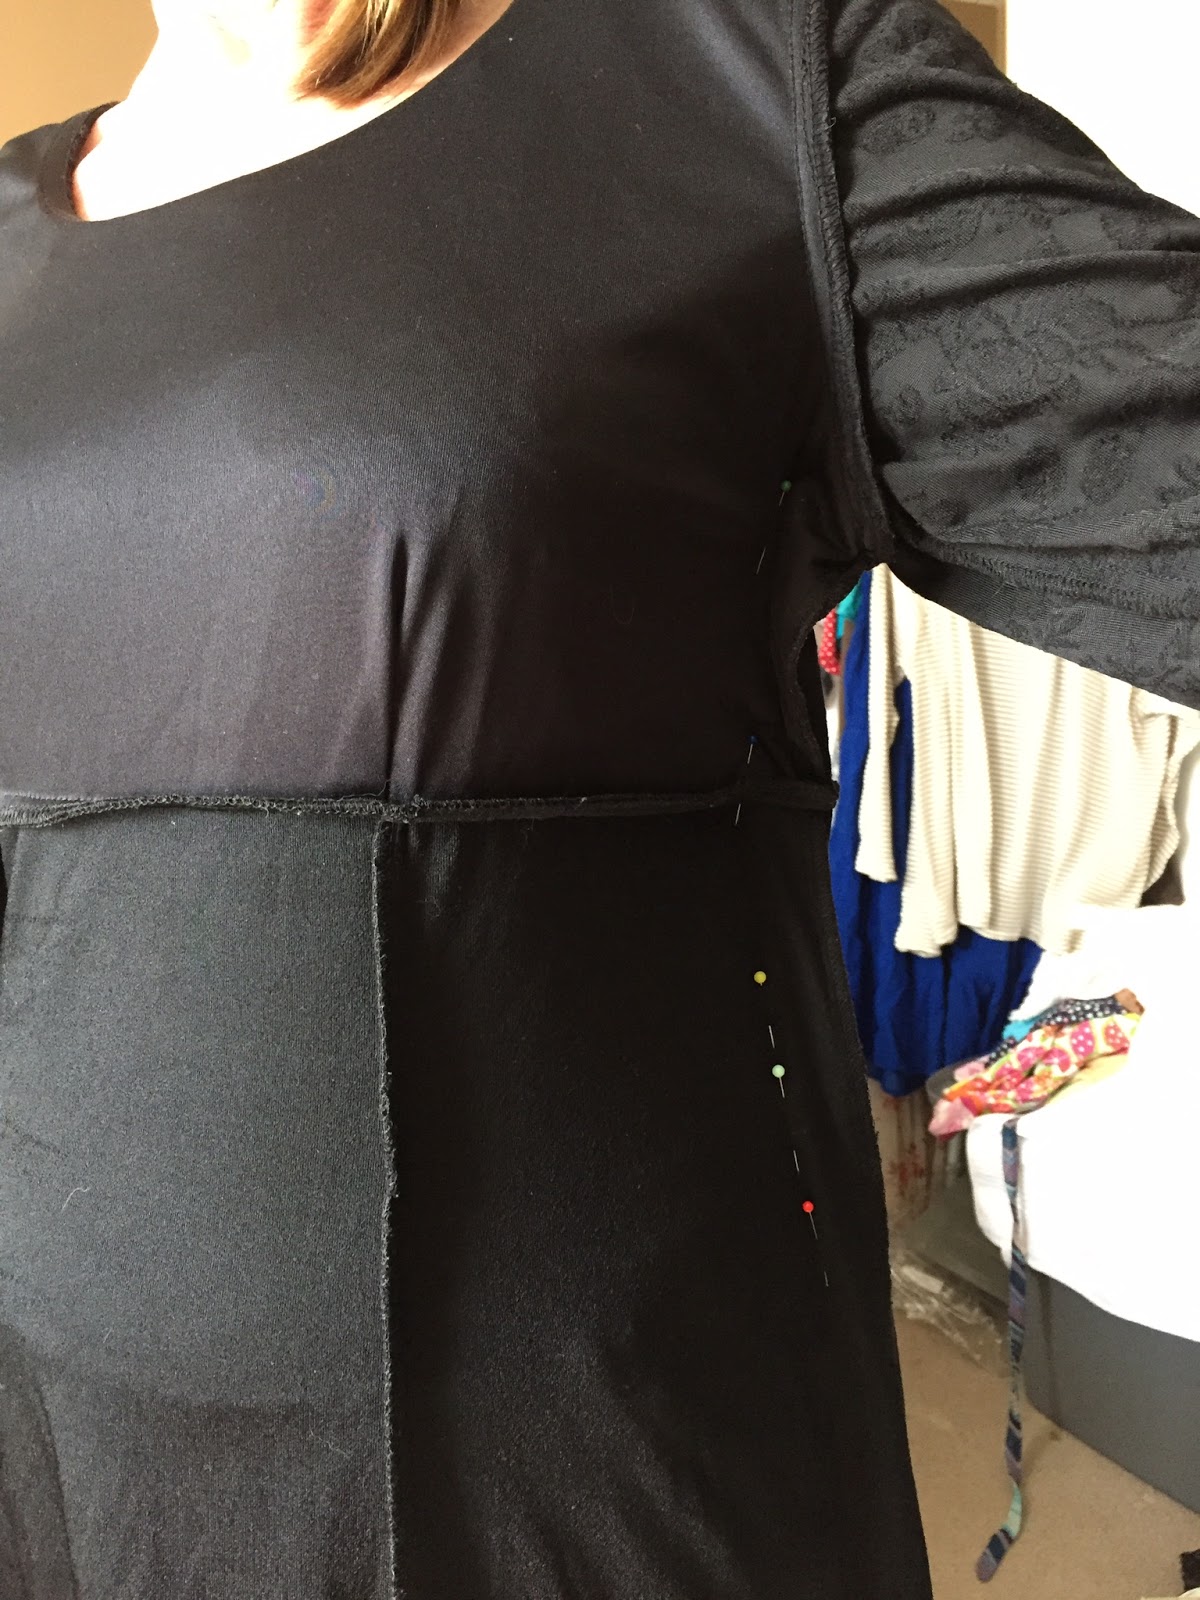
This week, one of my bests got a refashion makeover, Kathy.  I enjoy refashioning for others (if you haven't noticed), mainly because I get to sit and talk while I sew.  This girl is one of the best encouragers that I know!  I just love this girl!  So, she came to me with this large black dress that she used for a Valentine's skit, but wanted to wear this dress for church.  It really was a pretty fabric, but way too big and long sleeves.  I knew I could fix her right up!
First, we started with flipping the dress inside out and pinning it to fit her body.  I sewed up the sides, trimmed them with the serger, and that part of the dress was done.  That easy!  Next was the sleeves...
Once again, I flipped the dress inside out and laid it flat.  I chose the length I wanted the sleeves to be, keeping in mind I would be adding a hem.  I cut straight across and then used the cut piece to measure the other side to cut off.  Once cut, I serged the edges and then created a hemmed sleeve with the regular sewing machine.  Voila!


 Isn't she cute?


Sunday, February 14, 2016

Little Bit Boho Zippity Zig Zag

Little Bit Boho...Zippity Zig Zag

As I cleaned through my mounds and mounds of refashion possibilities this week, I came across this cute, LITTLE dress that has all my favorite colors on it.  Sadly, it might possibly fit my left thigh, but not much beyond that.  I needed a way to show off this Boho Chic dress, keeping all those fancy ruffles, yet make it a fit for me too!

I've been planning on making these cute little undershirts with an extension for quite some time.  A lot of times of want to wear a cute shirt, but they are just not quite long enough for me to just wear legging with the amount of junk I have in my trunk (if you know what I mean).  So, I need something that can extend that shirt to cover everything necessary.  Today was the day!  You will see more of these extended undershirts, rest assured.  But here's to the first.

I started with the dress and found an off white shirt that fit a little strange in the chest anyway and matched the off white in the dress.


Cute Boho dress
Off White Shirt


I cut the sleeves off the white shirt and made a deeper V out of the neckline.  I hemmed these up with just a simple rolled hem.
I put a gray shirt underneath it so you
could see the top better.

Next, I took the dress apart at the seams.  The front ruffles I left in tack, just separating them from each other.  Ignore my multitasking going on in these pictures.  I was creating my trim healthy mama snacks as I cut apart fabric.  I hate to waste time:)


all pieces separated, then ruffles are sewn end to end
The back of the dress still in one piece.


 I used the back of the dress to cut long straight pieces to add to the top of the ruffle, because I was afraid the undershirt was going to be quite long enough to show off the ruffles as much as I wanted.  I ended up being correct and the finished product still isn't quite long enough for me, but I was adjust it some other time.  It worked for the day that I wore it.


The back cut into pieces to extend the ruffle plus add a little ruffle
on top of the ruffle.

 I gathered the extra pieces about 1/4 of the way down, then sewed them on to the top of the existing ruffle.  This created another top ruffle, but also gave a few inches to extend the ruffle once attached to the shirt.
putting a gathering stitch in the soon to be top ruffle

Sewed the gathered ruffle unto the existing ruffle
A ruffle ready to be attached to the shirt


Once the ruffle was attached, I took out the gathering stitch, sewed the ruffle together at the ends making a complete circle, then sewed that to the bottom of the shirt.  It turned out that the ruffle was now too long to fit exactly, so I resewed the circle to be the size of the shirt and resewed the ruffle back in place on the shirt.  

The particular fabric of the dress did not need a hem because the fabric doesn't unravel.  However, the ruffles were very uneven in length at different places, so I did my best to even all that up.  It wasn't perfect, but I don't think anyone but me would have noticed.

Finished seam that sewed shirt and ruffle together


The finished product

 There was enough fabric left over to make a cute hippie headband.  I felt like Rhoda on the Mary Tyler Moore Show.  My kids thought it looked dorky, but people, I know style;)


Friday, February 5, 2016

Infinity Scarves: Can't Get Enough of Them!


I had a really hard tearing into this dress.  I know it's very long and maybe a little outdated, but i did like this as a dress.  But alas, my Refashion Friday is here.  So, time to get busy...
And this is an easy one, Folks...
really, just cut off the width that I wanted my scarf to be,
took the current hem out,
and rehemmed both sides of the scarf,
and that's it!  And so, Britnee took an array of photos and I'll share them with you.
Happy Friday!


Happy Friday!


Friday, January 29, 2016

The Little Yellow Skirt: Introducing Britnee

The Little Yellow Skirt
Introducing Britnee

Although I still have a few days left of Ellee's outfits, I decided to take a break and introduce you to another daughter of mine...Britnee.  She's my sweet 17 year old that graduates this year.  She recently got a "big girl job" and was needing some decent dress outfits that were appropriate to wear to work.  She's a rather petite girl and perhaps a bit picky about what she likes;), but we were able to find this cute dress.  The only problem was the top was not sufficient to wear to work, so it was time to do a refashion.


The dress that we started with

sewing the ends together with a zig zag stitch
First I cut the top off of the skirt right at the seam line.  I left in the elastic waist, at least to start with.


Next, I cut a 3 inch black elastic band the length of Britnee's waist.  Then I zig zagged the ends together, making a circle.

What it looked like with the ends sewed


After making a circle, I flipped the skirt inside out and pinned the top to the belt, the right side was flat against the back of the belt.
I sewed double stitches (using a very wide stitch) making sure to sew as close to the edge as possible.  The second stitch was put on there to hold the fabric flat against the belt.


After everything was sewn together, I took out the elastic that was already sewed in the skirt.  This took FOREVER and it was a pain in the butt, but it had to be done.

All stitches out and ready to wear.


Pretty Girl