Showing posts with label dresses. Show all posts

Friday, March 4, 2016

Refashion Friday: Little Black Dress

Little Black Dress

This week, one of my bests got a refashion makeover, Kathy.  I enjoy refashioning for others (if you haven't noticed), mainly because I get to sit and talk while I sew.  This girl is one of the best encouragers that I know!  I just love this girl!  So, she came to me with this large black dress that she used for a Valentine's skit, but wanted to wear this dress for church.  It really was a pretty fabric, but way too big and long sleeves.  I knew I could fix her right up!
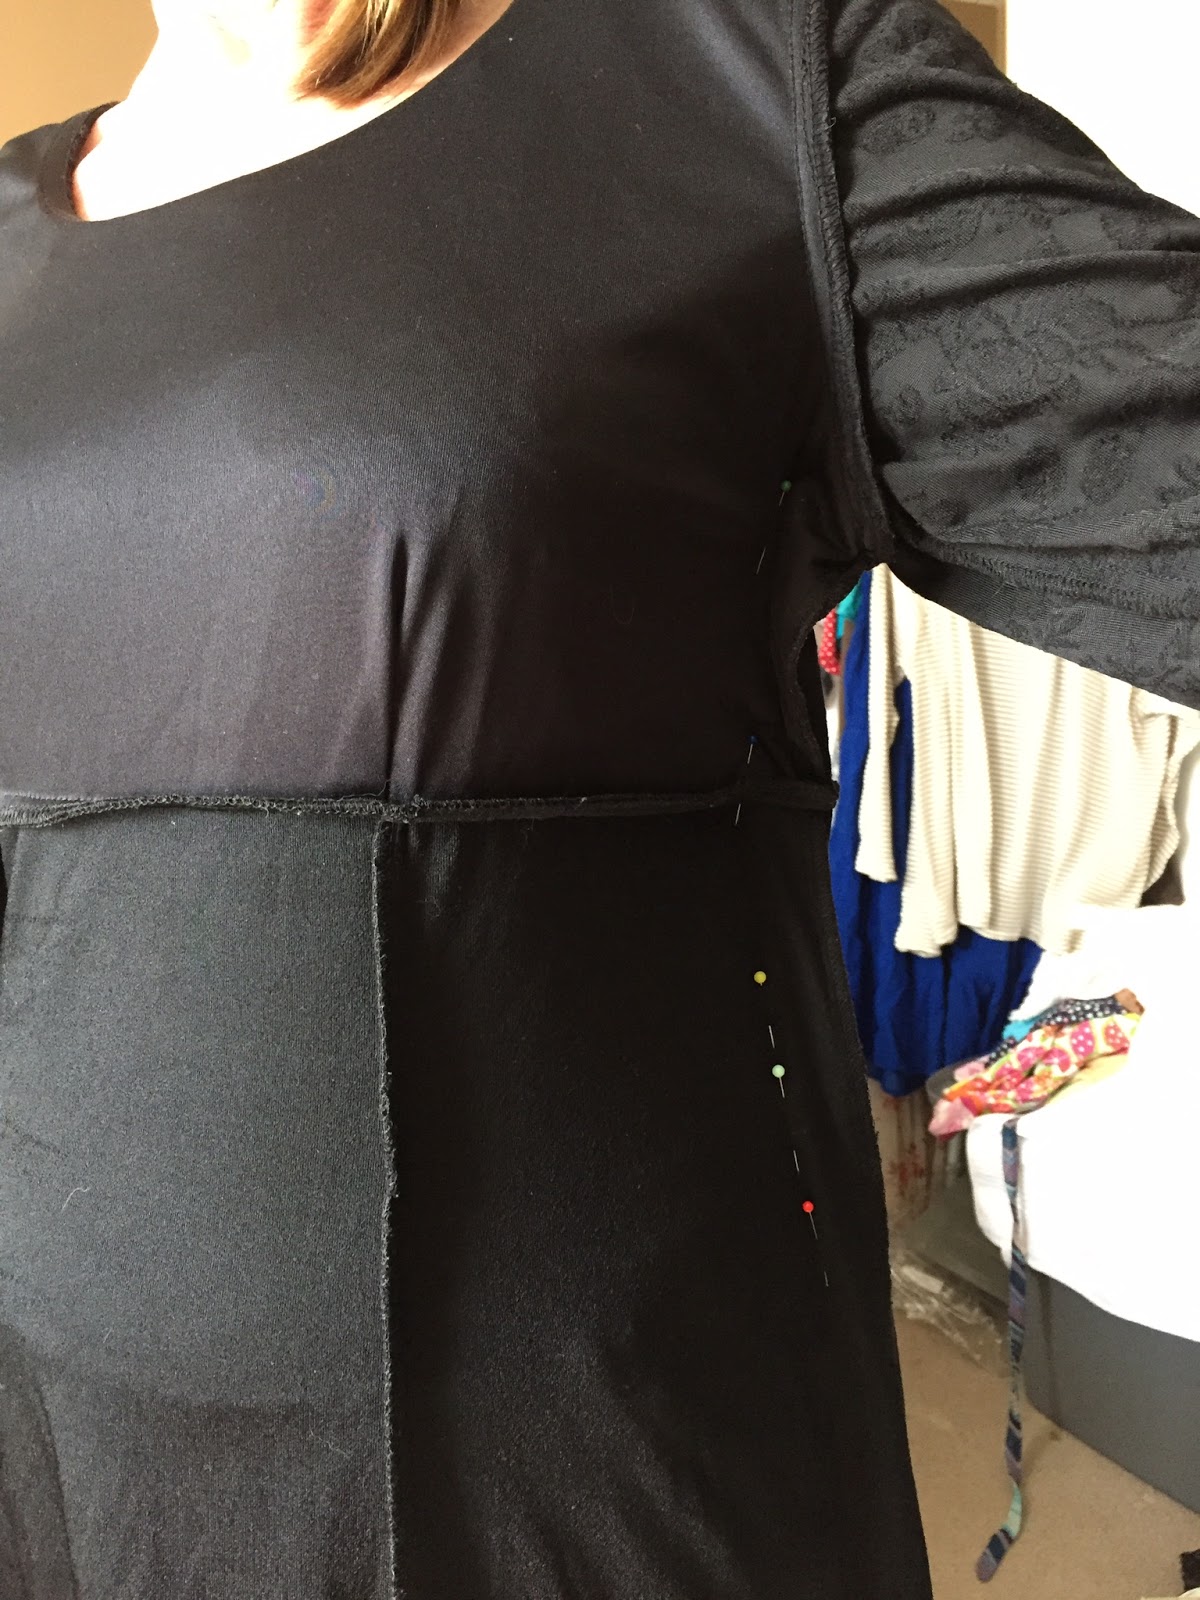
First, we started with flipping the dress inside out and pinning it to fit her body.  I sewed up the sides, trimmed them with the serger, and that part of the dress was done.  That easy!  Next was the sleeves...
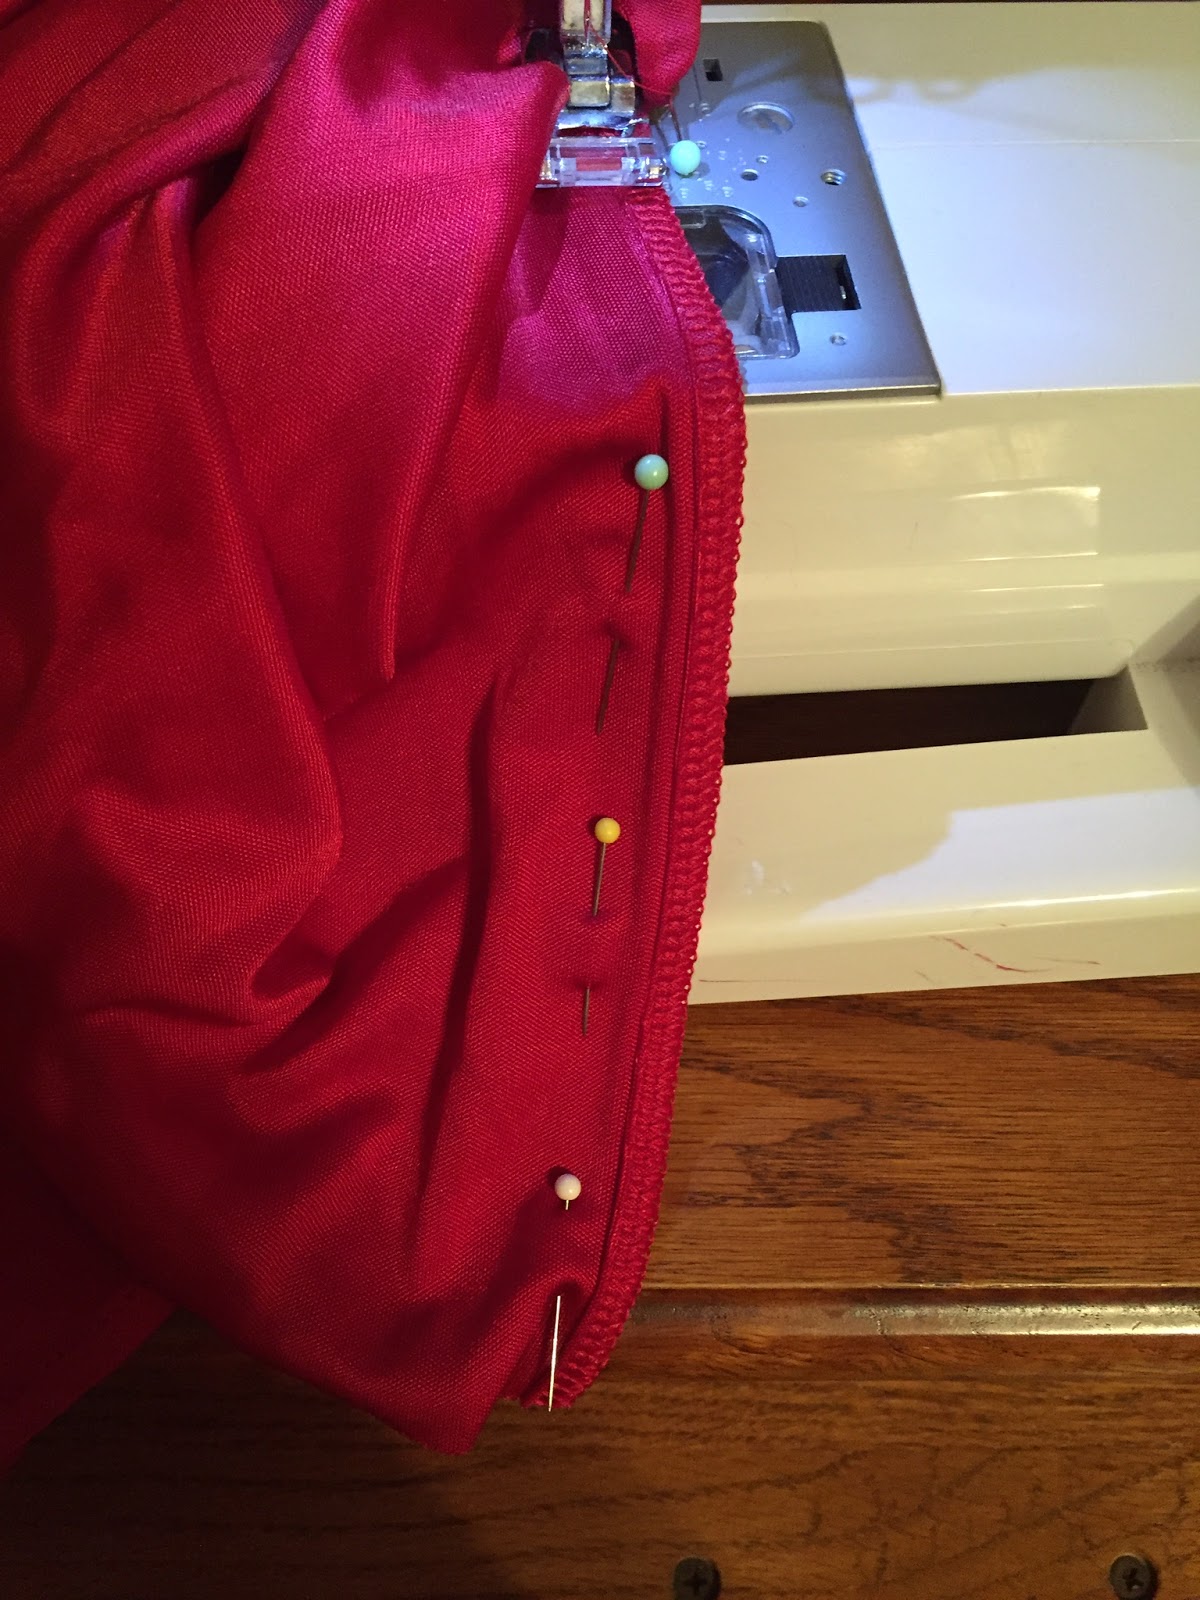
Once again, I flipped the dress inside out and laid it flat.  I chose the length I wanted the sleeves to be, keeping in mind I would be adding a hem.  I cut straight across and then used the cut piece to measure the other side to cut off.  Once cut, I serged the edges and then created a hemmed sleeve with the regular sewing machine.  Voila!


 Isn't she cute?


Friday, January 29, 2016

The Little Yellow Skirt: Introducing Britnee

The Little Yellow Skirt
Introducing Britnee

Although I still have a few days left of Ellee's outfits, I decided to take a break and introduce you to another daughter of mine...Britnee.  She's my sweet 17 year old that graduates this year.  She recently got a "big girl job" and was needing some decent dress outfits that were appropriate to wear to work.  She's a rather petite girl and perhaps a bit picky about what she likes;), but we were able to find this cute dress.  The only problem was the top was not sufficient to wear to work, so it was time to do a refashion.


The dress that we started with

sewing the ends together with a zig zag stitch
First I cut the top off of the skirt right at the seam line.  I left in the elastic waist, at least to start with.


Next, I cut a 3 inch black elastic band the length of Britnee's waist.  Then I zig zagged the ends together, making a circle.

What it looked like with the ends sewed


After making a circle, I flipped the skirt inside out and pinned the top to the belt, the right side was flat against the back of the belt.
I sewed double stitches (using a very wide stitch) making sure to sew as close to the edge as possible.  The second stitch was put on there to hold the fabric flat against the belt.


After everything was sewn together, I took out the elastic that was already sewed in the skirt.  This took FOREVER and it was a pain in the butt, but it had to be done.

All stitches out and ready to wear.


Pretty Girl


Monday, January 4, 2016

The 12 Days of Ellee The Tenth Day A Lacy Ruffled Sleeved Dress

The 12 Days of Ellee


On the Tenth Day of Ellee 
My mother made for me
A Lacy Ruffled Sleeved Dress,

I believe this dress might have been my most challenging yet!  It's all because of the lining that was underneath this cute little sundress, separated from top lining and bottom lining.  I ran into a problem because I didn't feel I could just sew over the top of the lining along with the fabric.  It just wouldn't give the clean finished effect that I get when I sew the lining separately.  Well, I shouldn't have listened to myself, because it ended up looking messy on the underneath and guess what?  Ellee doesn't even care anyway!  So, I digress....
pinning to Ellee's body
Pinning to Ellee's body

The challenge was to make this size large, lined dress to fit little framed Ellee.  Not only that, but it was strapless, so you knew I would need to figure out some sort of sleeve.  Now, this particular outfit was not going to lend the flexibility of extra fabric quite like the Chevron dress had that we sewed earlier in the series.  


Sewing off the pockets on the bottom half.
The pockets cut off.  Now to mess with lining.


So, while I sewed the sides in on this dress, after fitting them to Ellee's body, I took inventory of my supplies and decided upon some lace that has been sitting in my stockpile for years.  Although it was a little much for my tastes, Ellee loved it because it was ruffly and lacy, the things she loves most!  So, I went with it.  


piece of lace I found in my stash

sewing on the seam tape by folding it in half.

The finished ruffle

This particular lace already had a gathering stitch in it, so I pulled that to the tightness that I wanted the sleeves to be and I sewed a straight stitch over some seam tape (that I also already had), folding the seam tape in half with the gathered stitch in between.  It worked perfect to create the ruffle with not adding too much of a strap that everyone could see.  

Ironically, fitting the sleeves so you can't
see her bra.

Ironically, fitting the sleeves to the front of dress
so you can't see her bra.

Next, I fitted the gathered lace into the right place on the tops of the dress, then sewed the lace edges in place.  She loved the sleeves and I loved that I couldn't see her bra straps:)


It's only taken me four days, but I wanted to say Happy New Year to all my current readers.  I have found my nitch in something I enjoy and I have so much fun sharing my "artwork" with you!  If you think about it, leave me a comment here and there and maybe a like and follow on Facebook (posted under Just Five More Minutes of Grace, my other blog page) and make my day!  God bless! Angie


Sunday, December 27, 2015

The 12 Days of Ellee The Sixth Day More Ruffled Dresses


The 12 Days of Ellee

On the Sixth Day of Ellee 
My mother made for me
More Ruffled Dresses


We started off this day with this ruffly shirt that is in Ellee's favorite color.  Surprisingly, when she looked at it, she decided that she didn't like it because it was not ruffly enough.  We also had this strapless sundress that wasn't going to work without some additions (you know how modest I am). 


To start off, I had her try the dress over the shirt to see where it would fit right.  I got an idea of where I needed to cut the top.  Sadly, the dress had a small hole towards the top, so I had to adjust the top to hide the hole.  She took them off and I laid it out on the floor where I would cut it.  Then I began to cut.  The problem was that the ruffles were not sewn straight across but more at an angle.  So, when I cut it was difficult to get it even.  But, we did the best we could:)
Laying out the dress on the shirt

Cutting the bottom ruffles off the shirt

The "cut" shirt top.  A little uneven, but we worked that out later.
Next, I matched up the centers and sides of the shirt with the dress.   Then I pinned the dress over the shirt, being careful not to catch the other side (the back) of the shirt.  The dress had elastic in it, so I had to "stretch" the dress to match the top.  It worked out for me that the top and dress were the same size around.
Pinning the dress to the shirt
Next, I took the bottom half of the shirt and separated the front and back then I cut the front into 3 even pieces, then matched up the ends and sewed them side to side.  I then pinned the bottom ruffle to the bottom of the dress.  When I had the bottom ruffle pinned on, I trimmed the excess ruffle, then proceeded to pin the ruffle flat all the way around.  Sorry, forgot to take pictures of that.
The cut front ruffles.

Cutting the front shirt piece from the back.
The cut ruffles


Next, I took the bottom half of the shirt and separated the front and back then I cut the front into 3 even pieces, then matched up the ends and sewed them side to side.  I then pinned the bottom ruffle to the bottom of the dress.  When I had the bottom ruffle pinned on, I trimmed the excess ruffle, then proceeded to pin the ruffle flat all the way around.  Sorry, forgot to take pictures of that.
Lining up the ruffle end to end


Topstitching on the bottom of the skirt


Topstitching with a longer stitch
Lastly, I sewed everything into place.  I did not sew right side to right side, as you typically would an outfit.  Instead of just sewed over the top of the shirt, topstitching the same seam that was already sewn on the dress.  I stretched the fabric out flat and used a longer stitch to sew the back. (see pictures)


When I sewed the front, I used a small zig zag stitch that I centered between the blue shirt and red dress.  I stretched the fabric until it was flat and evened up, then sewed my zig zag.


Stretching the fabric flat as I sewed a zig zag stitch.


Friday, December 25, 2015

The 12 Days of Ellee The Fifth Day The Red Christmas Dress


The 12 Days of Ellee

On the Fifth Day of Ellee 
My mother made for me
A Red Dress with Short Sleeves,


Ellee really loved this dress and wanted to wear it special for Christmas.  The only thing she didn't like was the long sleeves.  So, it was time to get to work on cutting those sleeves.  I didn't want to just have a fitted sleeve.  I wanted to use the excess fabric to make the sleeves full.  Time to cut, cut, cut.

First, I folded the dress in half and matched up the sleeves.  Once they were matched up, I cut straight across where I would want the sleeve to be.  

With the leftover sleeve fabric, I matched up the leftover piece with the longest length of the cut sleeve. (Shown in picture)


Folded in half to cut sleeves
matching up the cut sleeve with leftover
sleeve fabric.

two pieces cut the same length as the sleeve

Next, I laid the sleeve out flat, matching the inner seam and creating a center seam.  I cut on the center seam of both sides.
I left about 1/2 inch uncut along the top of the sleeve. (Shown in picture)

cut the outer sleeve all the way to 1/2 inch
before the top of sleeve
Laid out flat matching the inner seam

Next, I cut the sleeve insert pieces that will fit inside the
existing sleeve.


cutting the sleeve inserts lengthwise
Next, I cut the sleeve inserts in half lengthwise.  I laid them out flat and took a picture so you get the idea.

Laid out flat
       Next, I matched up one sleeve insert side to the cut opening in the existing sleeve.  Pin that baby down and pin on both sides, both sleeves.                                                                                        
Sew the sides as you have pinned them.  Stop short of sewing all the way to the top.  This leaves room for the sleeve to be "fitted" into the spot.  Next is the tricky step.  Take the width of the inserted sleeve and make an accordion like "fan", evenly giving half on one side and half on the other.  Pin it flat with all the folds laying evenly flat.  Sew straight across (as pictured below).

Sewing the sides on the sleeve inserts.
My attempt at folding accordion style
and sewing straight across.
After sewing, you should flip it outside in and it should look like this picture below.  I used my serger to put a straight seam in the hemmed edge, then sewed a straight stitch to finish up the sleeve.

Finished hem on the sleeve.

And there you have it.  An inset sleeve for a beautiful girl.